Making Ghee

Ghee (ghrta, sarpi)
It is promotive of memory, intelligence, vital fire, vital essence (ojas) and is curative of toxins.
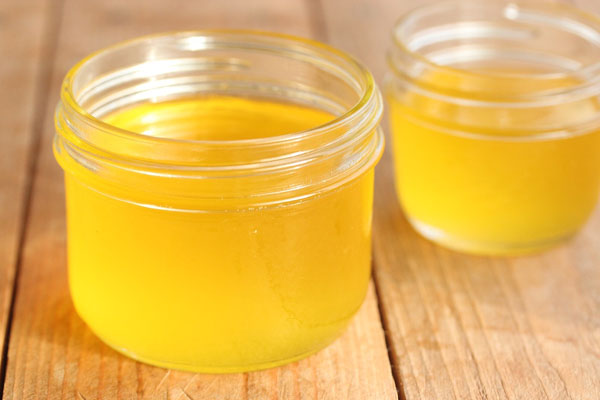
Ghee is one of the most ancient and sattvic foods know. It is also known as clarified butter but there is a subtle difference.
Clarified butter is just heated and milk fats removed. Ghee is cooked longer with all of the moisture removed. Things settle to the bottom versus skim off the top. Result is a sweet nutty flavor that is shelf stable. In Ayurveda, ghee is used for detoxing and everything else including putting in your eyes.
Here is step, by step instructions on how to make your own ghee.
1 lb raw, unsalted organic cultured butter
Heavy stainless steel or enameled iron pan
Cheesecloth or fine mesh strainer
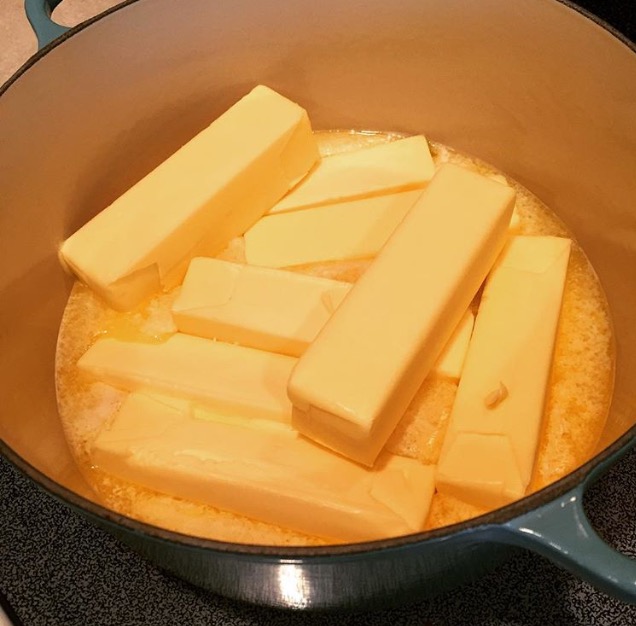
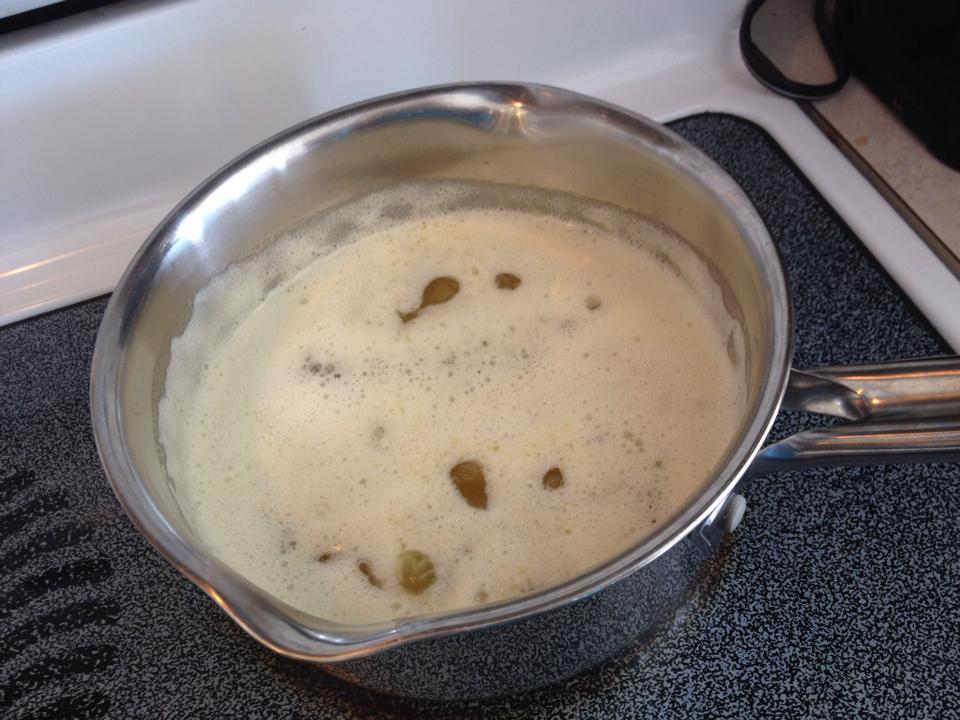
Put butter in the heavy pan and cook gently with medium heat. Once butter is completely melted, you’ll notice it will begin to “talk” to you and pop and crack. There will be a foam that forms on the top. After about 10-15 minutes, this foam will drop to the bottom as sediment. Watch it carefully! It can easily burn at this stage.
Yum! The beginning of making ghee.

When the ghee begins to boil silently, with only a trace of air bubbles on the surface, it’s ready. Let it cool slightly and pour through the cheesecloth or fine mesh strainer. I use a brass coffee filter to pour mine through.
This is the foam that forms on the top during the cooking process.

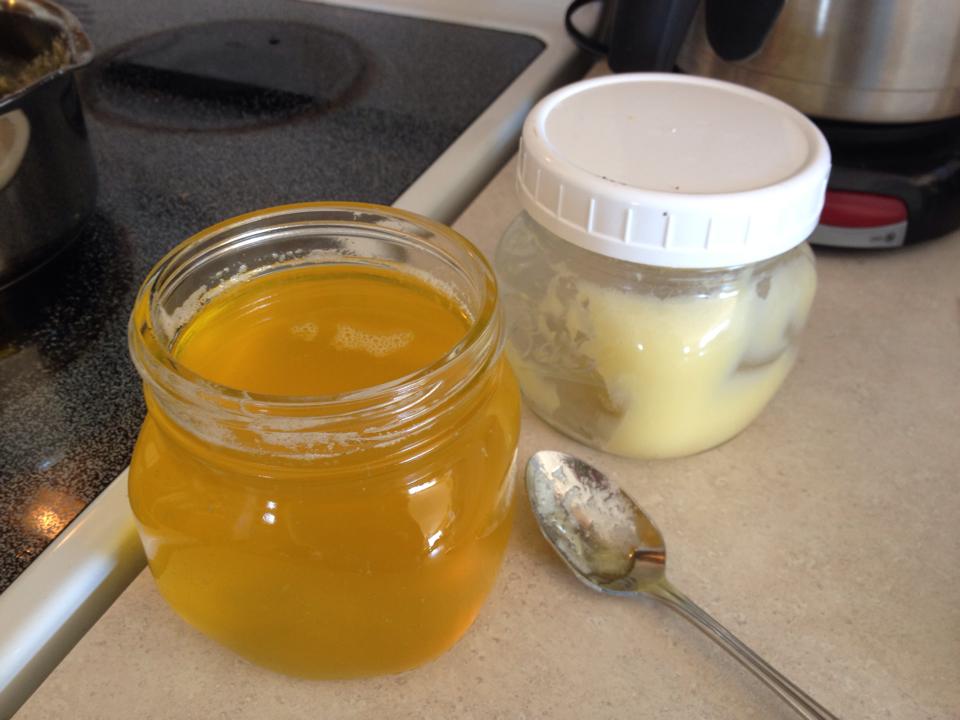
Slightly prop lit on the top of the jar, but do not seal it. As the ghee cools, it will become solid. Once completely cool, put the lid on tightly. Each time you use the ghee, dip into it with a fresh, dry utensil. Ghee can be stored at room temperature so please do not put it in the fridge.
Here is a new jar next to an almost empty jar.

Why make ghee on a full moon? Click here to read about this ancient practice.
(For the sediment left over in the cooking process, I add this to my pet food. My cats and dogs love to lap it up.)
